

We would like to start this week’s update with a huge thanks to the UW-Madison Horticulture Society, Dave & Kate Carlson, Bruce & Eileen Olson, Brady Anderson, Irv & Denise, and of course Tyler’s parents and brother for all of their help this past Saturday! Without all of the help there is no way we could have put up a 12 x 150 ft high tunnel in one day!
This past Saturday we started construction of a high tunnel to grow lettuce during the cooler months and during the heat of the summer when lettuce tends to bolt. The entire structure was made from scratch, mostly out of metal electrical conduit and was much cheaper than buying a pre-fab kit. (It was also longer than any pre-fab kit we could find.)
 The first step in our high tunnel building adventure was to measure and square off the section where we wanted to put the high tunnel. Then every four feet a ground post was driven. The ground posts were three foot sections of 1-inch conduit pounded two feet into the ground. Once that process was done, we laid out the conduit that will be used as the purlin to keep the hoops stable.
Meanwhile, our workers were busy bending the hoops. Two ten foot lengths of 3/4-in conduit were bent to form the hoops. In order to make a twenty foot arch, two sections of conduit had to be joined together. Since we used unswaged conduit, we had to come up with a way to connect the pipe. We ended up cutting a ten inch section of 1-inch conduit to act as a joining sleeve. This worked much better than the set screw couplers we originally planed on using.

All of the sharp edges on the sleeves had to be removed so the poly cover on the high tunnel won’t rip on jagged edges. This was an involved project since there were a lot of edges to file.
Once all of the filing on the sleeves was done, holes were drilled in both ends of the sleeve to join the ten foot sections of conduit. Then all of the drilled areas were filed, just to make sure all of the edges were smooth.
 Once all of the holes in the sleeves were drilled we connected the two archs using carriage bolts. This created the 20 foot arch that we needed to create in order to have a 12 foot wide bed underneath the hoop. Once everything was bolted, the 20 foot hoops were taken out into the field and placed in the ground posts.
 At this point all of the hoops were in the ground, but they were not connected securely to the ground posts. To make sure we had a solid connection the hoops had to be first pushed or pulled to the right height. Sometimes this was fairly difficult to do because of the tension on the pipe.
 Once the hoop was at the right height, we drilled a hole 1 inch above the soil line and threaded 3 inch x 1/4 inch bolts through both the ground post and the hoop. This keeps the hoop at the correct height and prevents it from popping out of the ground post in a storm.
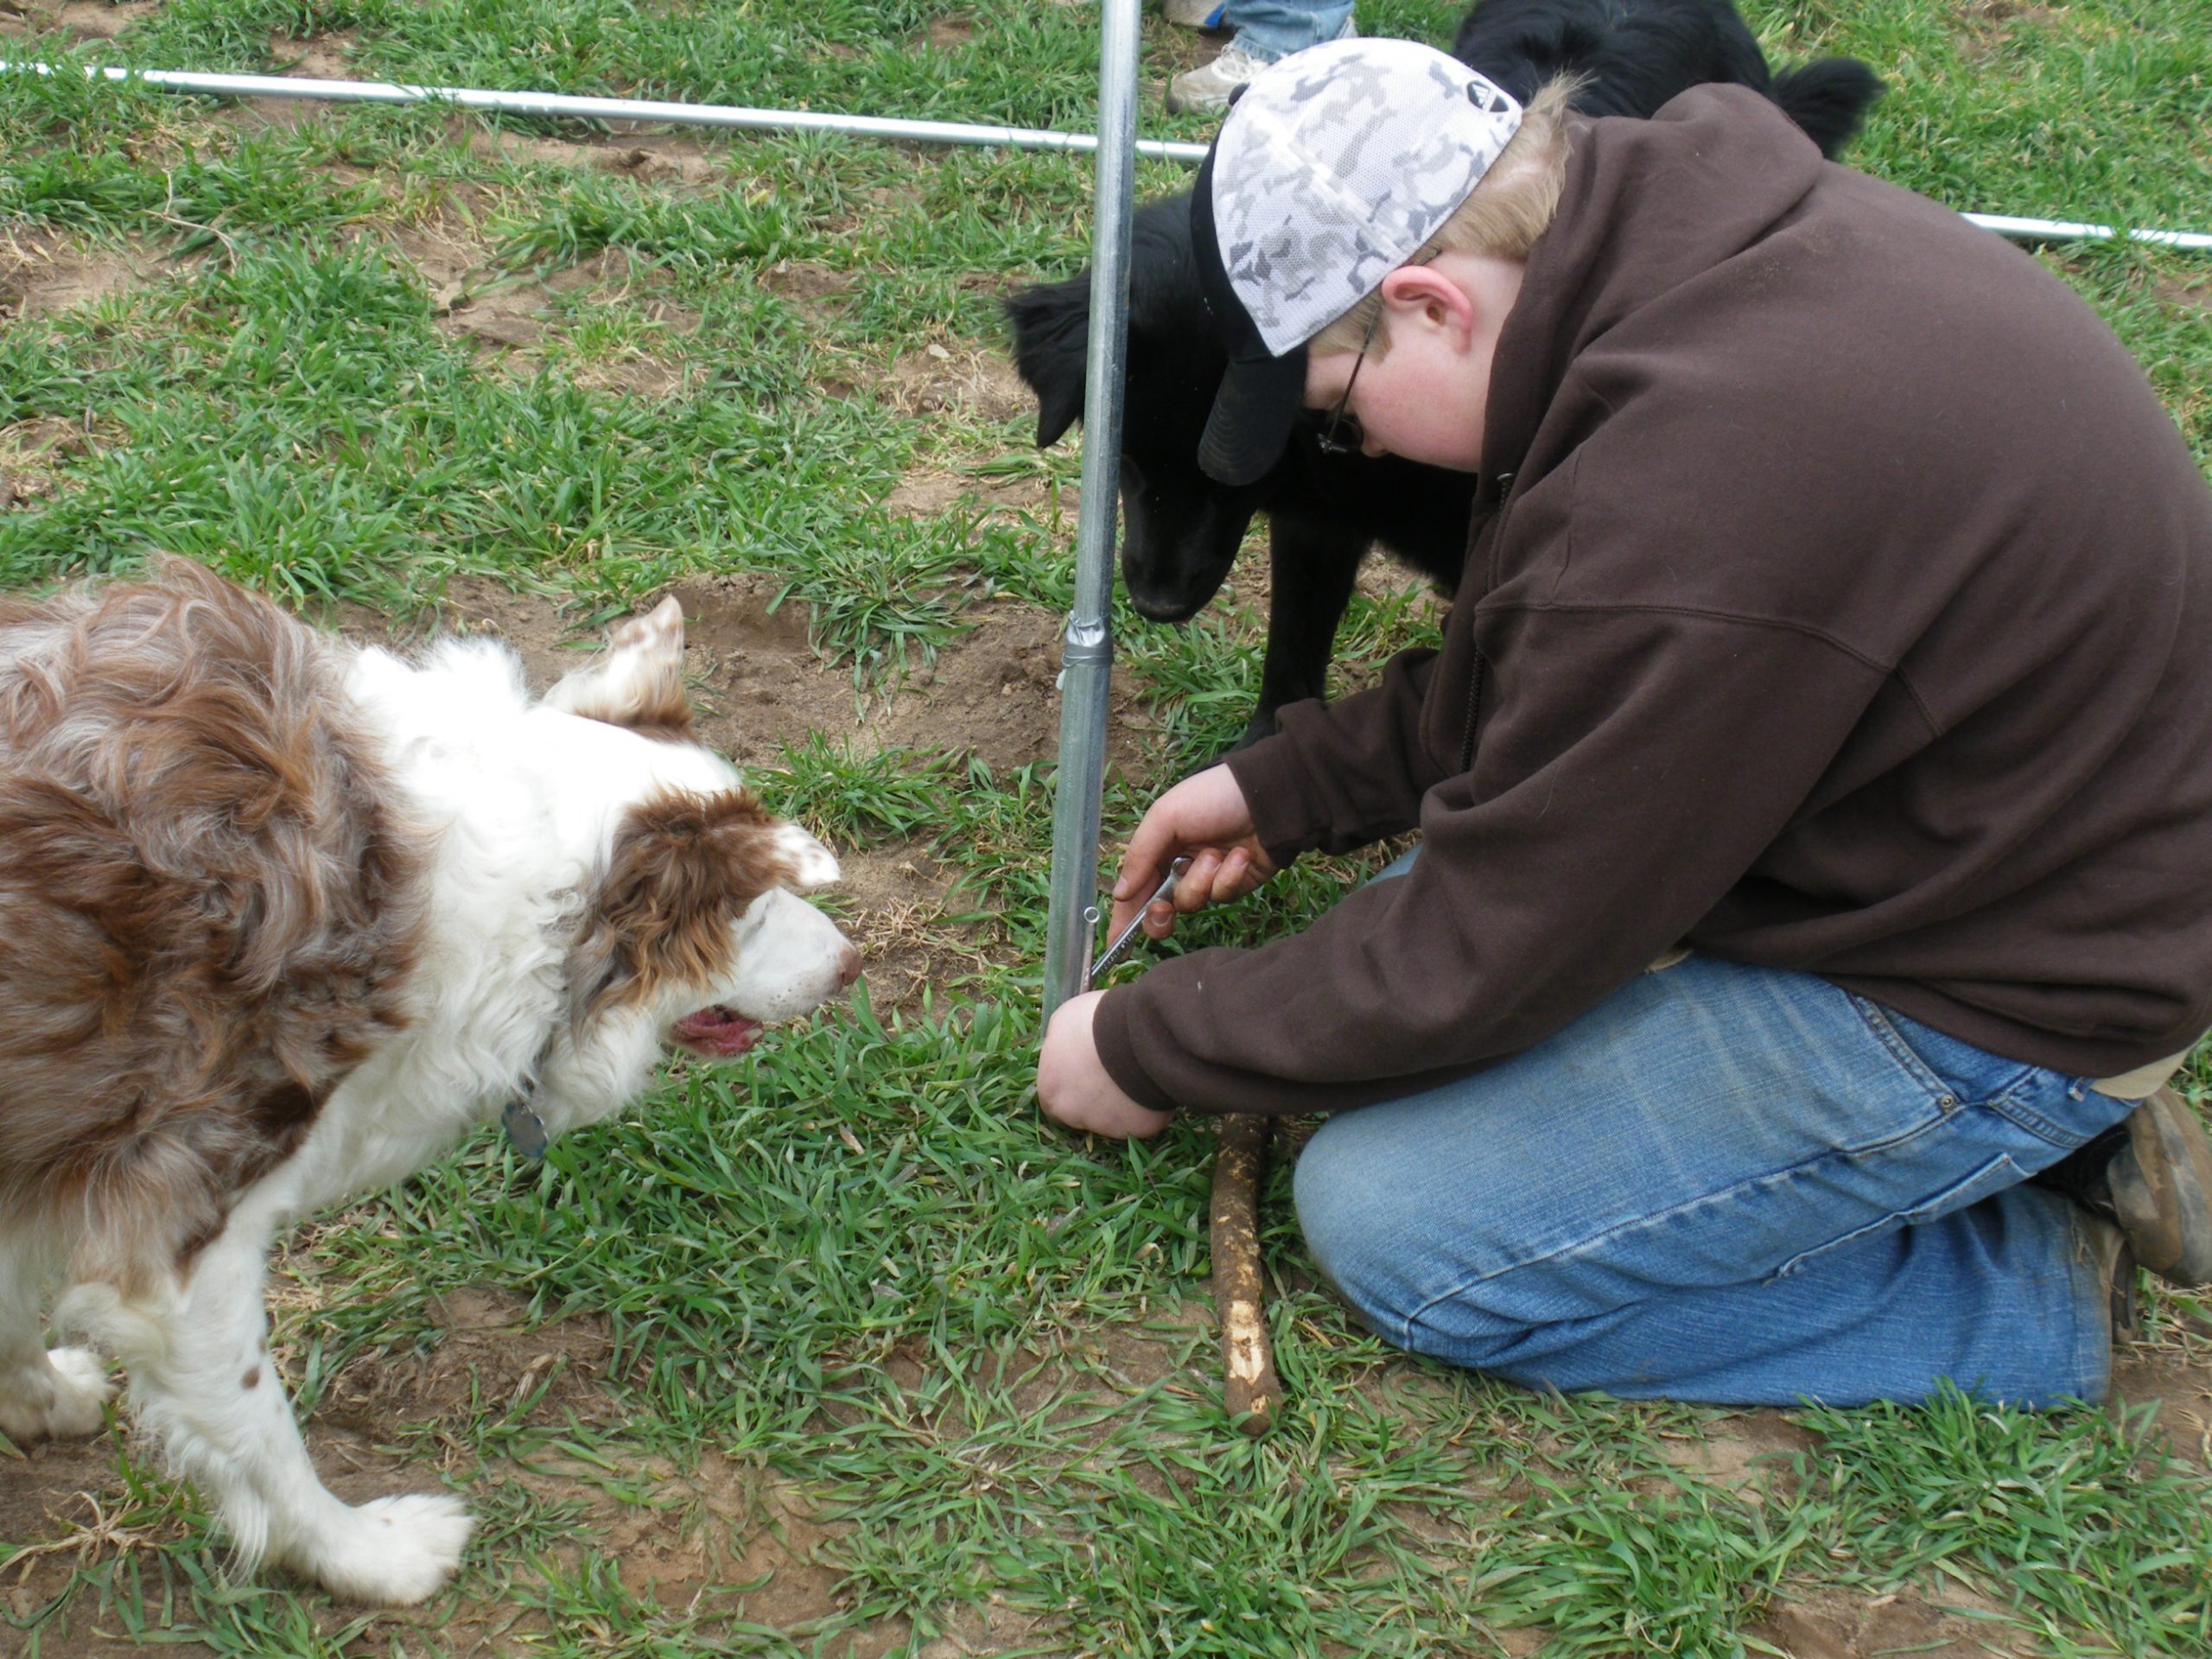
 Since we couldn’t use plain old bolts, we had another work station where tubing was added to the bolt. The tubing covered the threads for the first 1 inch or so, preventing the bolt from being threaded all the way through the ground post. This section of covered bolt will be where the lacing is eventually tied to keep the high tunnel poly covering in place. Once the bolt was in place we bent the bolt down at a 45° angle. This will help keep the lacing in place and prevent it from sliding off of the bolt.
 Any area where two pipes met, was covered by duct tape. This will help prevent tears in the poly. We went through almost an entire roll of duct tape since every hoop had at least 4 points were duct tape had to be used.
One of the final steps was to drive four t-posts into the ground at angles on the ends of the high tunnel. This will be where the poly is tied when we are ready to put the poly on the high tunnel. As usual, Greg made it look easy.
Since we were so tired by the end of the day, we ended up ziptying the purlin in place. Once the weather lets us back out into the field we will attach the purlin more securely to the hoops and put the poly up so we can start growing our lovely lettuce.
In addition to all of the work that went on last Saturday, we also installed a trellis over our two varieties of raspberries. We used sections of 1-inch conduit that we had left over from the high tunnel build.
We also got a chance to go over to our new field and drive around to check out what the soil looks like and to find any areas we think will be problematic. There are a few sections with high runoff and areas where grass is growing, but overall things look good. It gave us a chance to measure the area for our next project, an electric fence to keep all of the veggies safe from deer, raccoons, woodchucks, etc.
Oh, and we also planted lots and lots of seeds. It has been a busy and productive week. Check out the photos below for more of Saturdays events!


